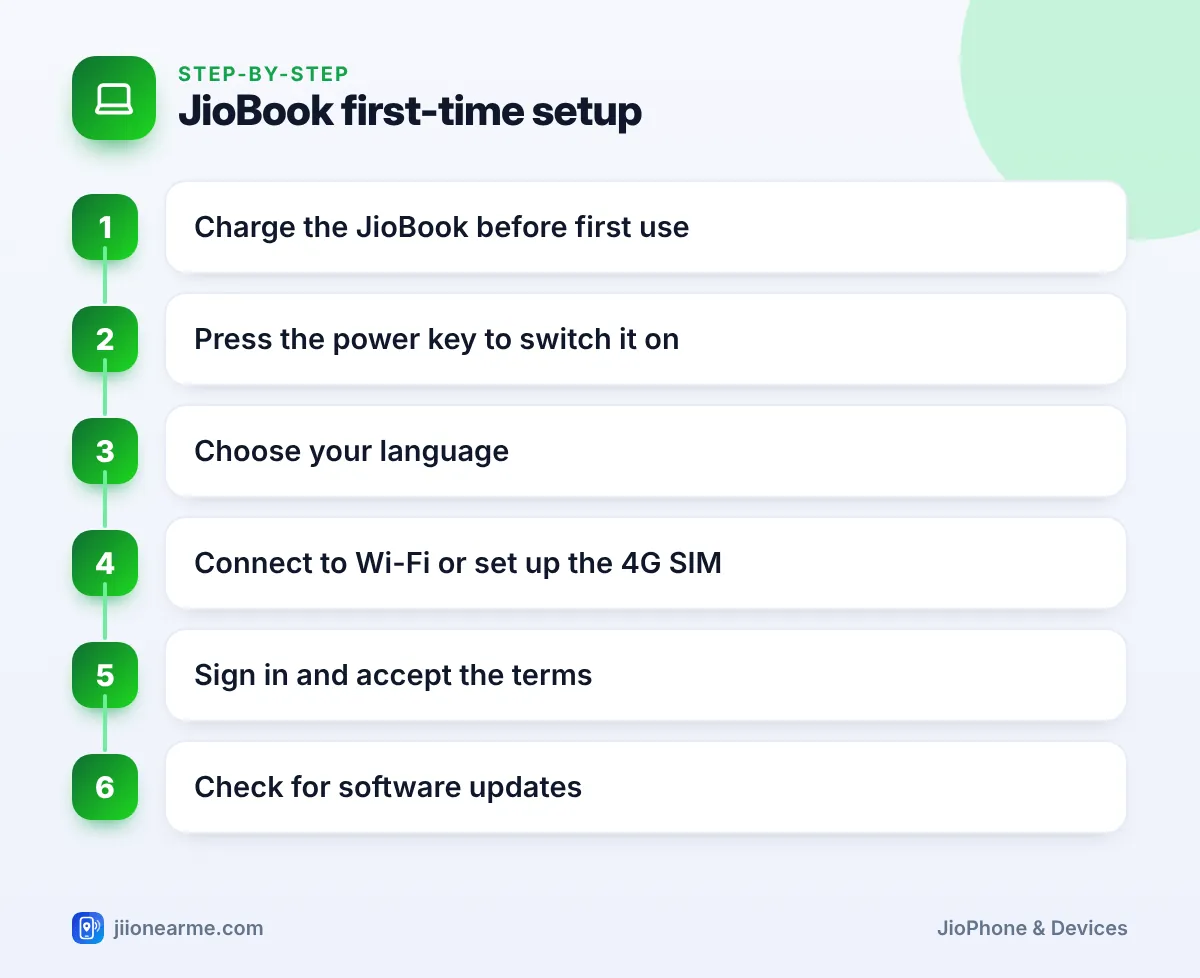
Your new JioBook walks you through most of the setup on screen. Charge it, press the power key, choose a language, connect to Wi-Fi or 4G, and sign in with your details. After a short tour, you land on the JioOS home screen and can start working.
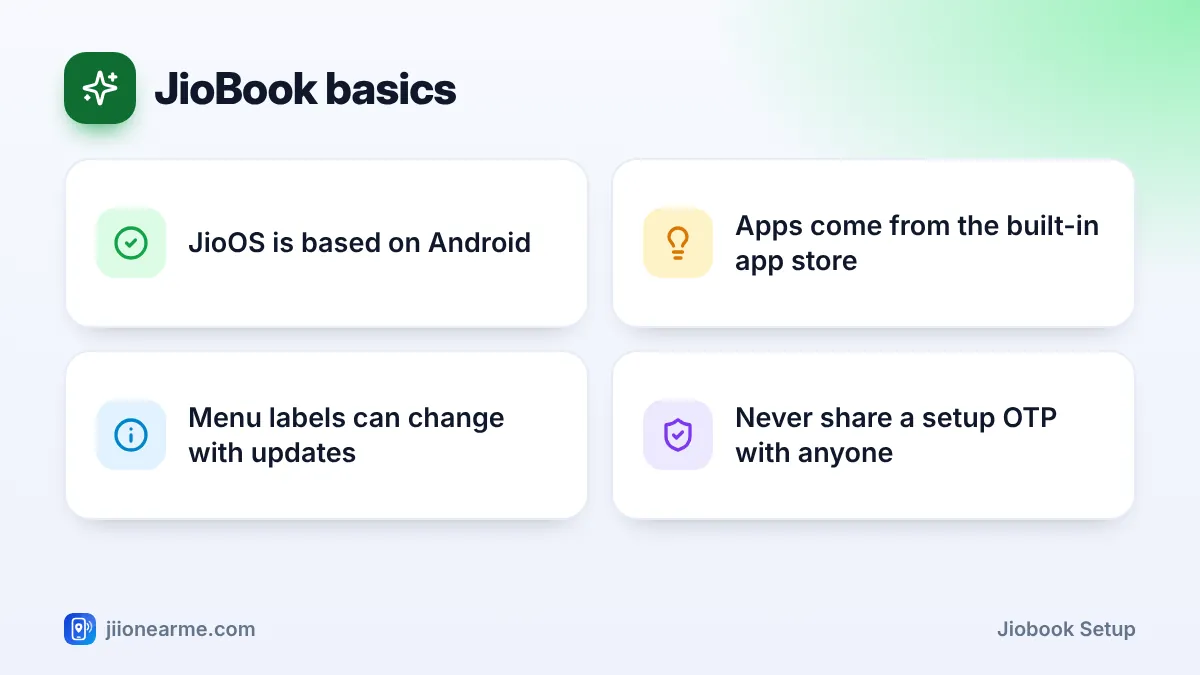
JioOS is Jio’s operating system for the JioBook. It is based on Android, so it may feel familiar if you use an Android phone, but it is laid out like a laptop. This guide covers the first boot, getting online, and the basics of the keyboard, trackpad and home screen. Screens and labels can differ slightly between models and software versions.
- Charge the JioBook before the first boot, so setup is not interrupted.
- The setup screens ask for a language, an internet connection and your sign-in details.
- You can connect through Wi-Fi or use the built-in 4G with a Jio SIM.
- Install pending software updates soon after setup for fixes and security improvements.
Before You Switch On
A little preparation makes the first boot smoother. Keep these ready:
- The charger from the box. Plug the JioBook in and let it charge before you begin.
- Your Wi-Fi name and password, if you plan to use home or office Wi-Fi.
- A Jio SIM, if you want to use the built-in 4G. This is optional, and you can add it later.
- Your mobile phone, in case the setup sends a one-time password (OTP) to verify your number.
Remove the protective films and packing sheets, and place the laptop on a flat, hard surface. Soft surfaces like a bed or cushion can block air flow.
JioBook Setup on First Boot: Step by Step
- Switch it on. Open the lid and press the power key. On many laptops, it sits on the top row of the keyboard or on the side. Hold it for a second or two until the screen lights up.
- Choose your language. Pick the language you want for menus. You can change it later in Settings.
- Connect to the internet. Select your Wi-Fi network from the list and type the password. If you have inserted a Jio SIM, you may see an option to set up mobile data instead.
- Set up the SIM, if offered. Some JioBook models offer an option to link the laptop with your existing Jio number for data. Follow the on-screen steps if you want it, or skip and do it later.
- Sign in or create an account. The setup may ask for your mobile number and an OTP. Type the OTP only into the JioBook screen.
- Accept the terms and choose permissions. Read the summary of each permission before you agree.
- Follow the short tour. The tour shows the main parts of the screen. You can skip it, but it is useful for first-time laptop users.
When setup finishes, you see the JioOS home screen with a row of apps at the bottom.
An OTP is meant only for you. No genuine Jio employee or helper will ask you to read it out on a call. If a “helper” offers to set up your JioBook remotely and asks for your OTP, refuse and hang up.
Connecting to Wi-Fi or 4G Later
If you skipped the internet step, you can connect any time.
- For Wi-Fi: Click the Wi-Fi or network icon in the corner of the screen, or open Settings and look for Network or Wi-Fi. Choose your network and enter the password.
- For 4G: Switch off the JioBook, insert an active Jio SIM in the SIM slot, and switch it on again. Then turn on mobile data from the network settings or the quick settings panel.
The JioBook supports both Wi-Fi and 4G, and it usually prefers Wi-Fi when both are available. Using Wi-Fi at home saves your mobile data.
Getting Comfortable with the Keyboard and Trackpad
If this is your first laptop, spend a few minutes practising. Most actions work like any other laptop.
| What you want to do | How to do it on most versions |
|---|---|
| Click on something | Tap the trackpad or press it down |
| Scroll a page | Swipe up or down with two fingers on the trackpad |
| Copy and paste text | Select it, press Ctrl + C, then Ctrl + V |
| Undo a mistake | Press Ctrl + Z |
| Adjust brightness or volume | Use the special keys on the top row |
The top row of keys usually has shortcuts for brightness, volume and other functions. Look at the small symbols printed on each key. The JioBook’s keyboard also supports many shortcuts, which you can learn gradually.
If you are new to typing, open a notes or documents app and type a few lines every day. Keep your fingers on the middle row of keys and look at the screen, not the keys, as much as possible. Speed comes with regular practice.
A Quick Tour of JioOS
Once you are on the home screen, get to know these areas:
- Taskbar: The row of icons at the bottom holds your favourite apps. Click one to open it.
- App list: A launcher or app drawer button shows all installed apps.
- Quick settings and notifications: Usually in a screen corner, with toggles for Wi-Fi, Bluetooth, brightness and volume.
- Settings: For language, display, network, battery and security options.
- App store: The built-in store where you install new apps.
- Files: For your documents, downloads, photos and memory card.
Open each one once, so you know where things are when you need them.
First Things to Do After Setup
A few small steps now save trouble later:
- Install updates. Open Settings and look for System update or Software update. Connect to Wi-Fi and keep the charger plugged in while it updates.
- Set a screen lock. Add a PIN or password under the security settings, so others cannot open your files.
- Adjust the display. Set brightness and text size to what feels comfortable.
- Install a few key apps. Add the apps you need for study or work from the built-in app store.
- Plan your backups. Keep copies of important files on a memory card, a USB drive or a cloud service such as JioAICloud.
For hardware faults, warranty questions or setup problems you cannot solve, use the official JioBook support options on jio.com or call Jio customer care on 1800-889-9999.
Frequently Asked Questions
Can I set up a JioBook without a Jio SIM?
Yes. You can complete setup and use the JioBook entirely on Wi-Fi. The Jio SIM is needed only if you want built-in 4G internet.
Can I change the language after setup?
Yes. Open Settings and look for a Language or Language and input option. Choose a new language from the list.
Why is the first boot slow?
The first start prepares the system and may download updates. Later starts are usually quicker. Keep the JioBook charging during this time.
Is the JioBook keyboard different from a normal laptop keyboard?
The basic typing layout is the familiar one. The top row and some special keys have JioOS shortcuts, which you can learn over time.
Can I use a mouse with my JioBook?
Many USB and Bluetooth mice work with JioOS. Connect a USB mouse to a USB port, or pair a Bluetooth mouse through the Bluetooth settings.
Wrapping Up
Setting up a JioBook takes only a short sitting. Charge it, follow the welcome screens, connect to Wi-Fi or 4G, and sign in safely. Then spend a little time with the keyboard, trackpad and home screen, install updates, and set a screen lock. After that, your JioBook is ready for study, work and browsing.
JIo Near me is an independent guide and is not affiliated with Reliance Jio. App menus, plans and policies can change – always confirm current details in the official MyJio app or on jio.com. We will never ask for your OTP, PIN or passwords.