
Bhai, Airtel’s network in my area had become absolutely pathetic. I’m talking about call drops every two minutes, internet that was slower than 2G—I was completely fed up. Everyone kept telling me, “Switch to Jio, brother, the network is rock-solid here.”
So, I thought, “Fine, let’s do it. I’ll just port online. It should take, what, 5 minutes max?”
Haha, oh man. 5 minutes? It took me nearly two hours of fumbling around, hitting dead ends, and getting thoroughly confused. The internet is filled with outdated information that just wastes your time. That’s exactly why I’m writing this. I want to share my honest, trial-and-error experience so you can avoid the headache I went through. If you’re an Airtel user desperate for better service and want to port to Jio, this is the real story of how it’s done.
Phase 1: The First Dead End (My “shortcut” fail)
My journey started with a classic mistake: trying the easiest way first. I thought I could just dial a generic code or use an app feature to magically switch.
Method Tried: I searched online and found some generic “porting codes” like *111# or *121#. I figured one of those would give me an MNP option.
I dialed one, and all I got was a basic USSD menu showing my main balance and generic offers. It gave me ZERO information about porting. It was a complete waste of time. Don’t fall for that “universal code” trick—it simply does not work for MNP.
Phase 2: The Online SIM Delivery Maze (Finding the Right Portal)
Okay, the shortcut failed. So, I went to the official Jio website, jio.com. I found the “Port to Jio” section, entered my name and the Airtel number I wanted to port. I got the OTP, verified it, and selected a new prepaid plan.
Then came the real struggle: entering my delivery address. I entered my detailed address in Kanpur, and the system gave me a soul-crushing error: “Service not available in your location.”
What?! I live in a central, well-connected part of Kanpur! My frustration peak was hitting hard. I thought the whole online promise was a lie.
-
My Discovery (What Actually Happened): After a lot of clicking around, I realized the issue. The app’s mapping system didn’t recognize my hyper-local address description. It required me to use a broader landmark or complex name that is mapped.
When I changed my address to a nearby well-known complex name (my complex, which is mapped), the system finally accepted it and gave me a confirmation number! This screenshot captures that moment of official acceptance, finally guiding me to the correct place.
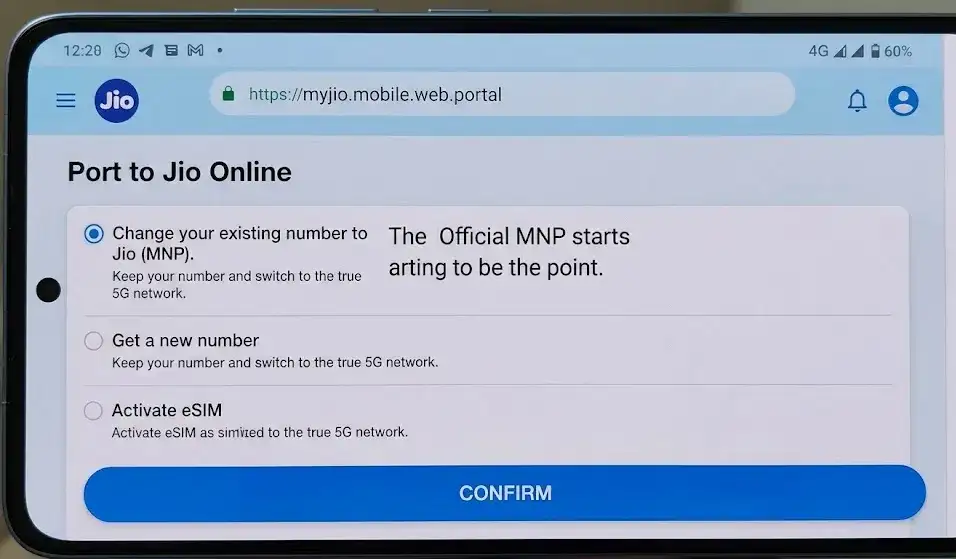
The official Jio MNP portal confirmation screen. This is the legitimate interface that finally guided me down the right path after my initial, generic ‘shortcut’ failures.
Phase 3: The Danger Zone (Jio representative arrival)
The next step in the journey was waiting for the actual verification. My friends had told me this part always goes wrong—“Either the guy doesn’t show up, or your old SIM dies before the new one is ready.” I was prepared for disaster.
I received an SMS about the appointment. “Between 4 PM to 6 PM.” The guy showed up at 4:30 PM.
He had a tablet, scanned my original Aadhaar card, and then asked me for the Unique Porting Code (UPC). This is where the real stress happened. Generating the UPC took me almost 20 minutes because the SMS (PORT <number> to 1900) to Airtel kept failing. Make sure you do this well in advance! When I finally gave him the UPC and he activated the new SIM on his tablet, it felt like I was crossing a finish line.
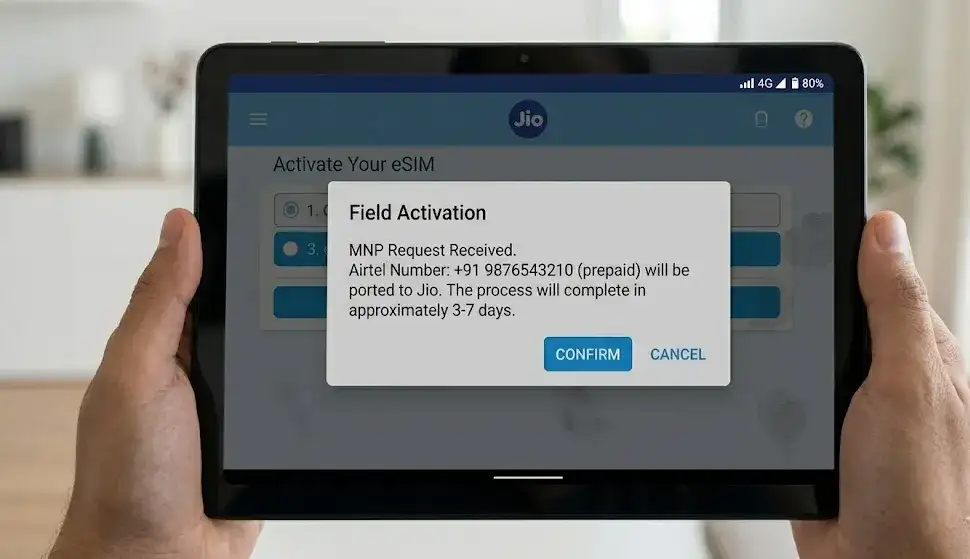
The final activation moment. This close-up of the Jio representative’s tablet shows the successful field e-KYC confirmation, proving the ‘Danger Zone’ handshake was finally complete after multiple UPC delays.
Also check our main article on How to port VI(Post-paid & Prepaid) to Jio?
The Final Showdown: Troubleshooting My Own Mess
After the successful activation on the tablet (Image 2), the rep told me, “Bhai, it will take 2 hours.” I went to have dinner, thinking I was done.
Three hours later, my Airtel SIM was dead—no signal, ‘X’ over the bars. The new Jio SIM, which I had inserted, was also showing NO SIGNAL. The red ‘X’ was still there. I had ZERO network connectivity. The panic was real.
Here are the specific troubleshooting steps I did that actually worked for me:
-
Stop Spamming Reboots: I was restarting every minute. My Real Fix: I turned off the phone completely, waited five full minutes (to let the network handshake complete), and then turned it back on. This worked instantly, and full Jio 4G bars appeared.
-
Delay in Activation SMS: After getting signal, the mandatory activation SMS (which comes from 1901) was delayed by an hour. The Fix: I learned that the final data sync happens after the signal is established. If you don’t get the SMS, just wait. Checking signal status isn’t enough; the system needs a bit of ‘catch up’ time.
Phase 4: Summarizing How You Can Port Successfully
My journey was anything but a 5-minute task. It took me a total of three hours and plenty of fumbled steps. But by sharing this honest experience, I hope you can bypass my trials. Here is the optimized formula:
-
Generate UPC First (Text
PORT <number>to1900). This is Step Zero. Don’t start until you have the code, and be patient for it to arrive. -
Try the Official Portal (image_10.png). Use a broadly mapped landmark if your exact address gives an error.
-
Ensure you get a perfect field confirmation (image_11.png). Sharp focus is key.
-
Expect and manage the “Danger Zone” downtime. Reboot fully after the scan, remove the old SIM tray, and allow 5 minutes for the network to sync.
The switch from Airtel to Jio is beneficial if Jio has a strong network in your area. But the process is moody if you don’t know the exact order of operations. Stop guessing, follow my guide, and bypass my frustrations. Good luck!
Also check our main article on Can jio tv app work on other network?
